OpenLDAP for Windows installation
OpenLDAP for Windows installation
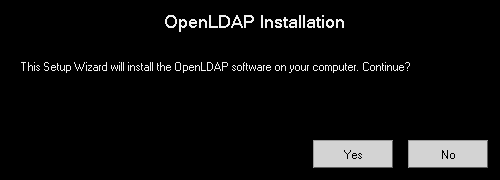
You can download the latest version of OpenLDAP for Windows from this page. The installation is pretty straightforward. After running openldapforWindows.exe, you will be prompted for OpenLDAP for Windows installation.
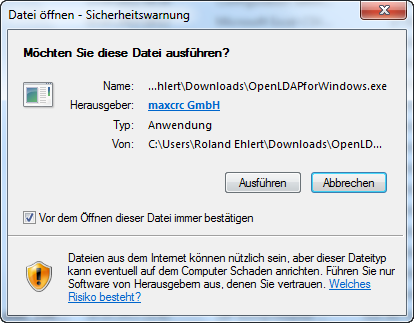
On a machine with activated UAC the standard security warning dialog appears. You should click Run to follow to the Welcome screen.
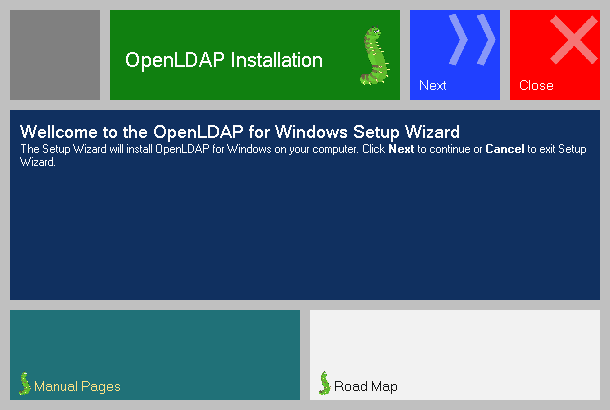
After passing the security dialog the Welcome page starts the installation assistant.
License Agreement
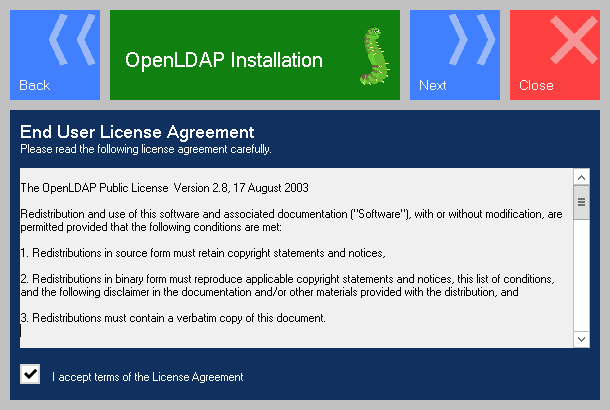
The next screen is the End-User License Agreement for OpenLDAP for Windows, which allows you to use the software for free under Common Public License (CPL). You must accept the terms of the agreement to get to the next screen.
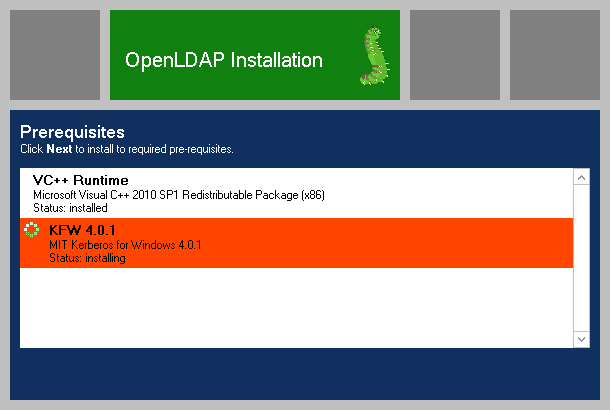
The necessary prerequisites are listed on the following screen. The existence of these modules will be detected automatically. The installation progress is displayed by a rotating wheel together with a status message in the affected row.
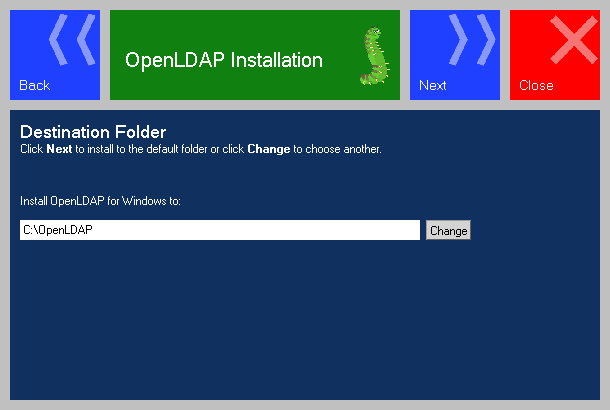
The Destination Folder screen enables you to select the location the software will be installed to.
Product features and prerequisites
The next screen, Custom Setup, allows you to exclude some features of OpenLDAP for Windows if you do not need them.
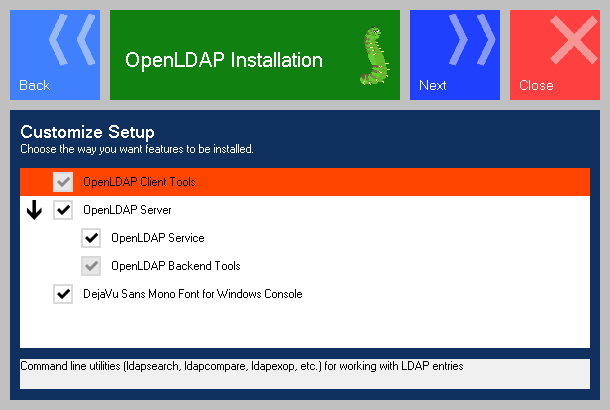
The below table contains the features and prerequisites and their descriptions.
| Feature/Prerequisite | Optional | Descripton |
|---|---|---|
| OpenLDAP Client Tools | No | Command line utilities (ldapsearch, ldapcompare, ldapexop, etc.) for working with LDAP entries |
| OpenLDAP Server | Yes | OpenLDAP server components with different backend modules like LDIF, BDB, SQL DATABASE, etc. |
| BDB Backend Tools | No | Berkley Database tools |
| OpenLDAP Service | Yes | Configures and starts the OpenLDAP daemon |
| DejaVu Sans Mono Font for Windows Console | Yes | Installs a DejaVu Sans Mono font and adds it to the list of fonts available to the console. The font provides a wide range of Unicode characters./td> |
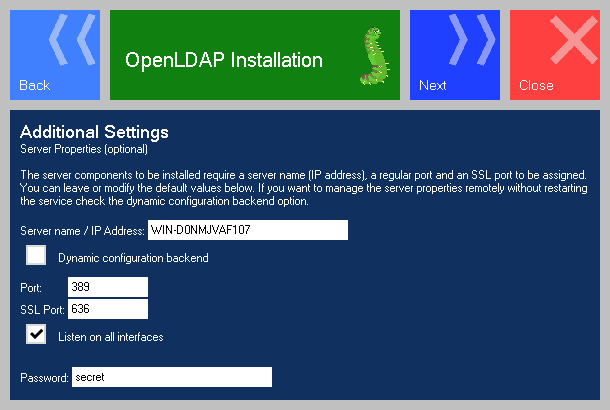
The Additional Settings screen can be helpful if you need to change the default settings: your servername or IP address and the open and SSL ports of the OpenLDAP server. You can also turn on or off the option for activating the statistics for the OpenLDAP instance. You can manage the server properties remotely without restarting the the service by checking the dynamic configuration backend option.
Configurations
During the installation process the firewall settings will be changed accordingly to the port configuration in the dialog above.
The page Backend Configuration offers up to five different Backend engines.
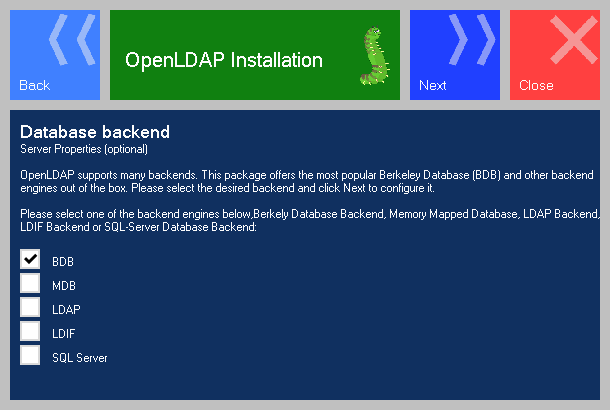
The table below contains the available modules and their descriptions.
| Module | Description |
|---|---|
| BDB | Berkeley Database Backend |
| MDB | Memory Mapped Database |
| LDAP | Proxy-Server in front of the real LDAP Server |
| LDIF | This module saves the results in LDIF files |
| SQL Server | Microsoft SQL Server 2005/2008 |
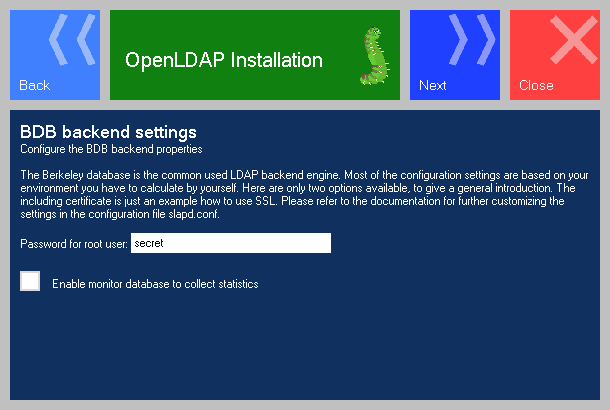
The page BDB Backend Settings configures the password for the root-user. Optionally you can enable the statistics.
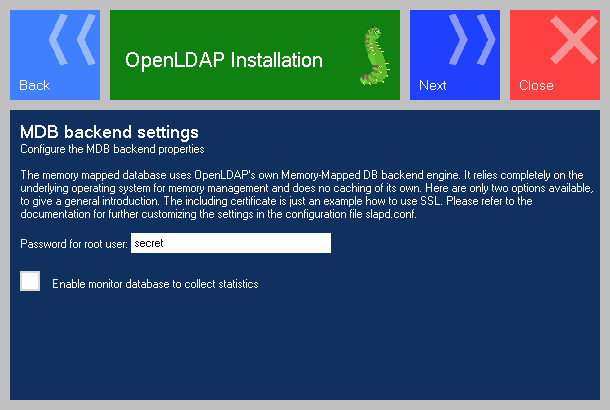
The page MDBBackend Settings configures the password for the root-user. Optionally you can enable the statistics. An introduction for this backend type you can find here
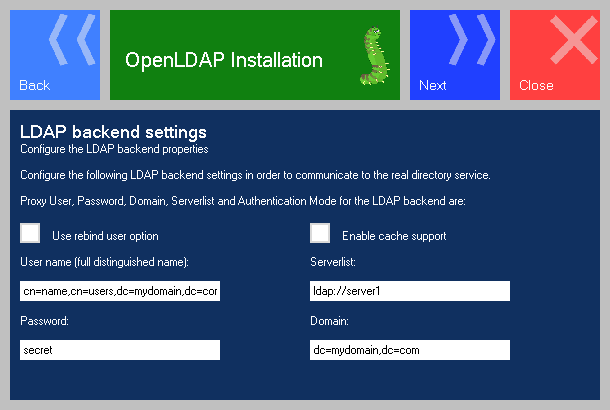
The page LDAP Backend Settings configures a so called Proxy-Server, which redirects the requests to the real LDAP server. Please refer to the documentation of the producer for all available options.
The page LDIF Backend Settings configures the Backend module saving the results in LDIF files. Please refer to the documentation of the producer for all available options.

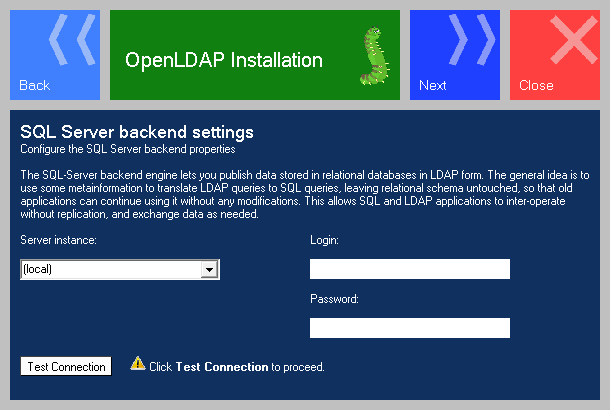
The page SQL-Server Backend Settings configures a relational database for saving the objects. The SQL server Microsoft SQL-Server 2005/2008 will be supported. An installed version of the product is necessary to use this option. Please refer to the documentation of the producer for all available options.
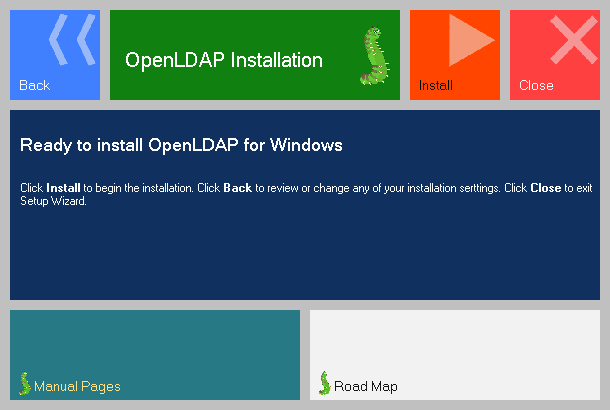
The last screen, Ready to install OpenLDAP for Windows, allows you to start the installation process or return back and make any changes to the settings on the previous screens.
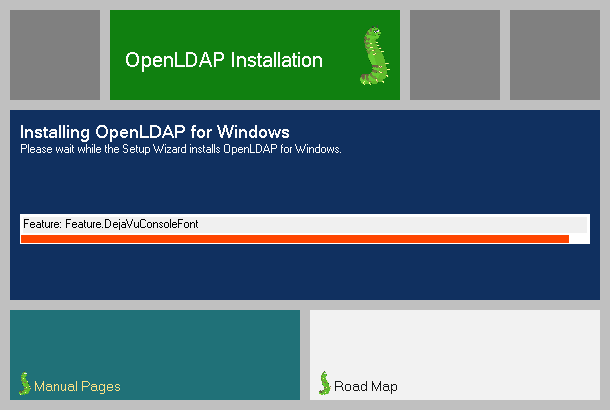
The progress of the installation is shown in the following dialog page.
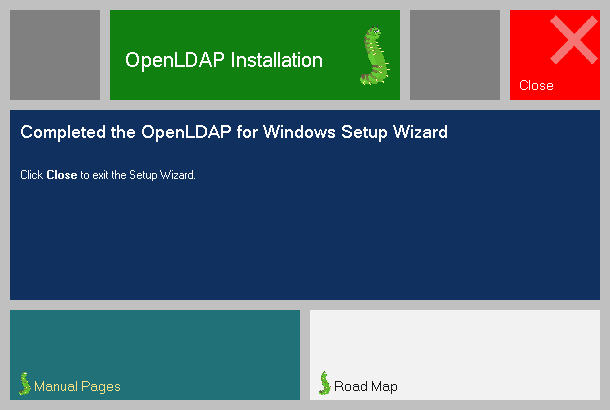
The result of the installation is shown in the final page of the installation wizard.
After the installation is complete, you can open the folder to where OpenLDAP was installed and start using the package to your your best advantage. The following credentials are valid by using the default settings.
User: cn=Manager,dc=maxcrc,dc=com

Password: secret
